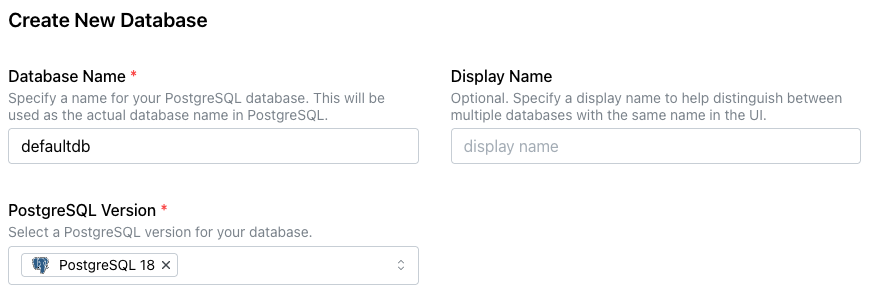
Creating a New Database
To create a new database, select the Databases node in the navigation
tree control, then select the + New Database icon in the upper-right
corner of the page. When the Create New Database dialog opens, use the
fields to define the database.
-
Provide a name for the database in the
Database Namefield. -
Optionally, provide a
Display Nameto identify the database in the navigation tree control. If more than one database shares the same name, aDisplay Namehelps identify each database in the navigation tree control. -
Use the
PostgreSQL Versiondrop-down to select the version of PostgreSQL to install.
The dialog displays the available clusters and their deployment regions.
Use the Show Map toggle to display or hide a map of node locations.
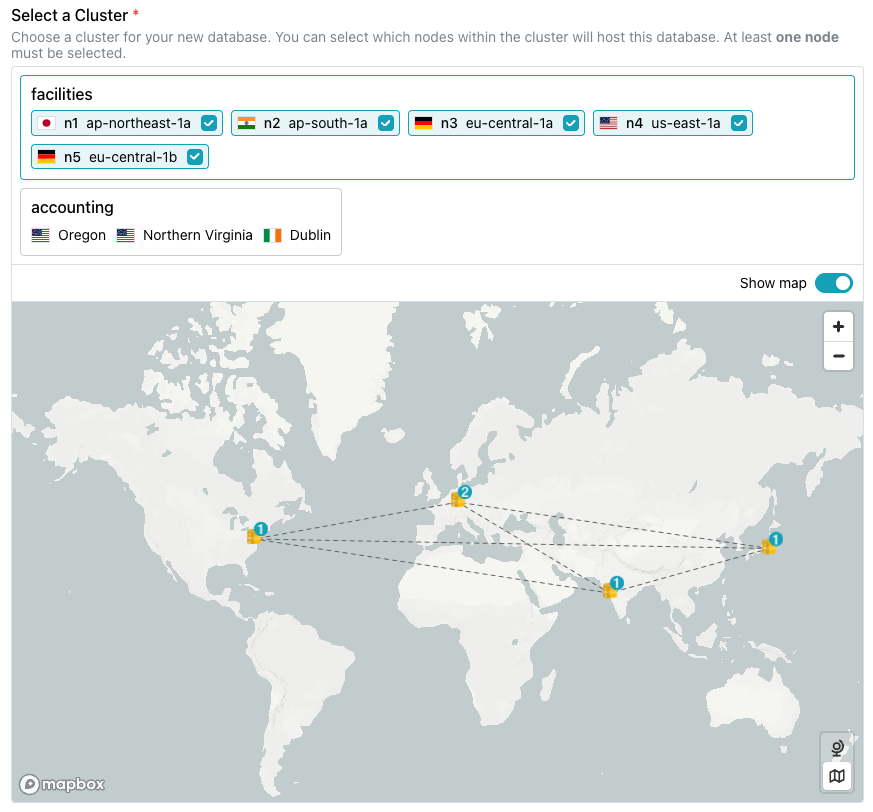
Select the cluster to host the new database from the panes displayed under
Select a Cluster. Use the checkboxes in each host's selector to indicate
whether the database should be deployed on that host; remove the check to
exclude a specific location.
The Backup Configuration pane provides options to customize the backup
configuration for Enterprise Edition database backups.
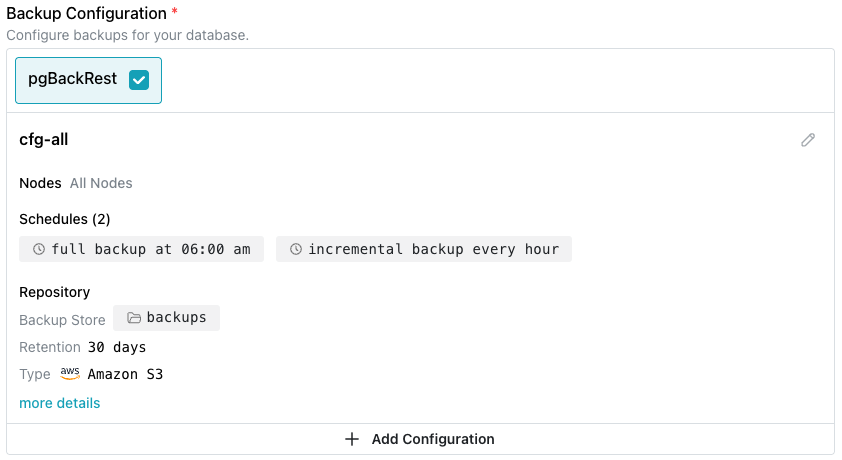
Use the fields in this section to customize the backup strategy; select the
edit icon (a pencil) in the upper-right corner to modify backup settings.
The default configuration defines a schedule that includes a daily full
backup with hourly incremental backups. Use the Add Configuration button
to create a custom schedule for the
database.
Note
A backup configuration and the selected database backup provider cannot be modified after database deployment.
The Options section displays optional features available when the database
is provisioned:
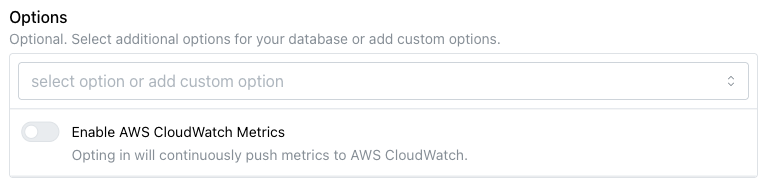
- Use the toggle switch next to
Enable AWS CloudWatch Metricsto share metrics with AWS CloudWatch.
Use the Services section to add an
MCP server
or RAG server to the
installation.
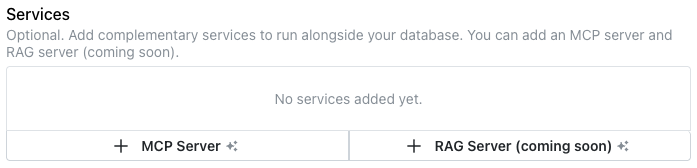
-
Select the
+ MCP Serverbutton to add MCP server details for the database; for more information, see Adding an MCP or RAG Server. -
Select the
+ RAG Serverbutton to add RAG server details for the database; for more information, see Adding an MCP or RAG Server.
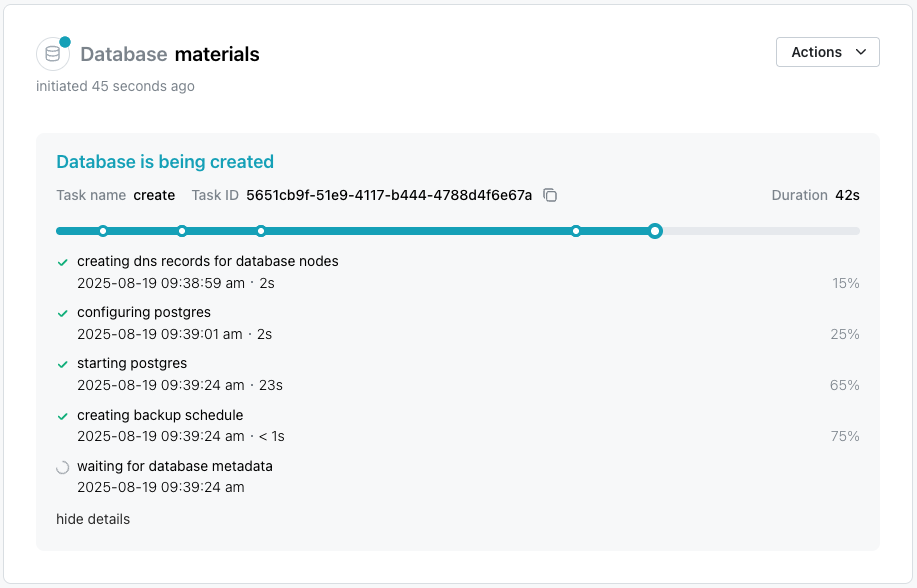
After making selections, select Create Database to initialize a PostgreSQL
database and start replicating data between the nodes in the cluster. The
new database is added to the list of databases in the left pane of the
console; a green dot to the left of the name indicates that the database is
available for connections.